How to Adjust uPVC Windows: A Complete Step-by-Step Guide
23rd December 2024
Adjusting uPVC windows is an essential maintenance task that ensures your windows operate smoothly, eliminate draughts, and provide maximum energy efficiency.
Over time, factors such as seasonal temperature changes, general wear and tear, or misalignments can cause your windows to become difficult to open or close, leading to draughty gaps and reduced performance.
In this guide, we’ll walk you through everything you need to know about adjusting uPVC windows, from identifying common issues to step-by-step adjustments, ensuring your windows remain functional and efficient for years to come.
Compare window styles
- Choose windows, doors, conservatories and more
- Select your style
- Enter your measurements
- Design online and choose your colours
Tools and Materials Needed
Before you start adjusting your windows, you will need some tools to get started:
Essential Tools
- Allen Keys (Hex Keys):
- Used to adjust hinge screws and locking mechanisms.
- A set of varying sizes may be required for different adjustment points.
- Screwdrivers
- Phillips and flathead screwdrivers may be required for hinge and handle adjustments.
Other Helpful Tools
- Lubricant Spray
- Silicone lubricant helps smooth the operation of moving parts on locks and hinges.
- Cloth and Soapy Water
- Useful for cleaning window frames and handles/
- Replacement Seals or Weatherstripping
- If seals are compromised, replacing them may be crucial in preventing draughts and cold air from entering your home.
Having these tools ready will make adjusting uPVC windows a straightforward and efficient process. Without these tools, you may run into problems and cause more damage than good to your windows.
Preparing for Window Adjustments
Before you begin adjusting uPVC windows, it’s important to take a few preparatory steps to ensure the process goes smoothly and effectively.
Proper preparation makes the adjustments easier and helps you identify any underlying issues that might need attention.
Inspect the Windows for Common Issues
You may be reading this article because you have already spotted some of these issues, however, before you start, it is important to check your windows to identify any misalignment or damage.
You should check for cold air coming through your window seals when it’s closed and look for visible gaps. Next, test whether you have any difficulty opening and closing the windows and see if the window sticks through operation.
Finally, check for condensation. Usually, condensation appears in the winter months and is quite normal, however, it could also be a sign of a bigger problem that needs professional attention.
Clean Window Components
Before you start it is important to clean your window as well as the individual components. This helps remove dirt and debris and prevents the chance of these falling into gaps during the adjustment process.
To clean your windows, use warm soapy water to wipe down the window frame, hinges and seals to ensure proper operation. After cleaning you should dry all parts of the window with a clean cloth to reduce dirt build-up on clean surfaces.
Lubricate Moving Parts
Again lubricating hinges, locking mechanisms and handles is important for the everyday functionality of your uPVC windows. This should be done periodically and you should avoid oil-based lubricants as they can attract dirt and cause other issues.
Open the Window Safely
You will usually need to open the uPVC window to adjust the opening and closing settings. For some windows, such as sliding sash you should ensure that the window is secure in the open setting to prevent accidental closure during adjustments being made.
How to Adjust a uPVC Window
Step 1: Identify the Adjustment Needed
Most modern uPVC windows have one type of adjustment that can help with preventing draughts in the winter months and adding air flow in the summer months.
Depending on the time of year, your uPVC windows and doors can be adjusted to match the requirements of your home. Before you start, you should identify what you are trying to achieve. Do you want a tighter compression to reduce draughts or a looser compression to increase airflow?
Once this has been established, you can move on to the next step and locate the adjustment points of your uPVC window.
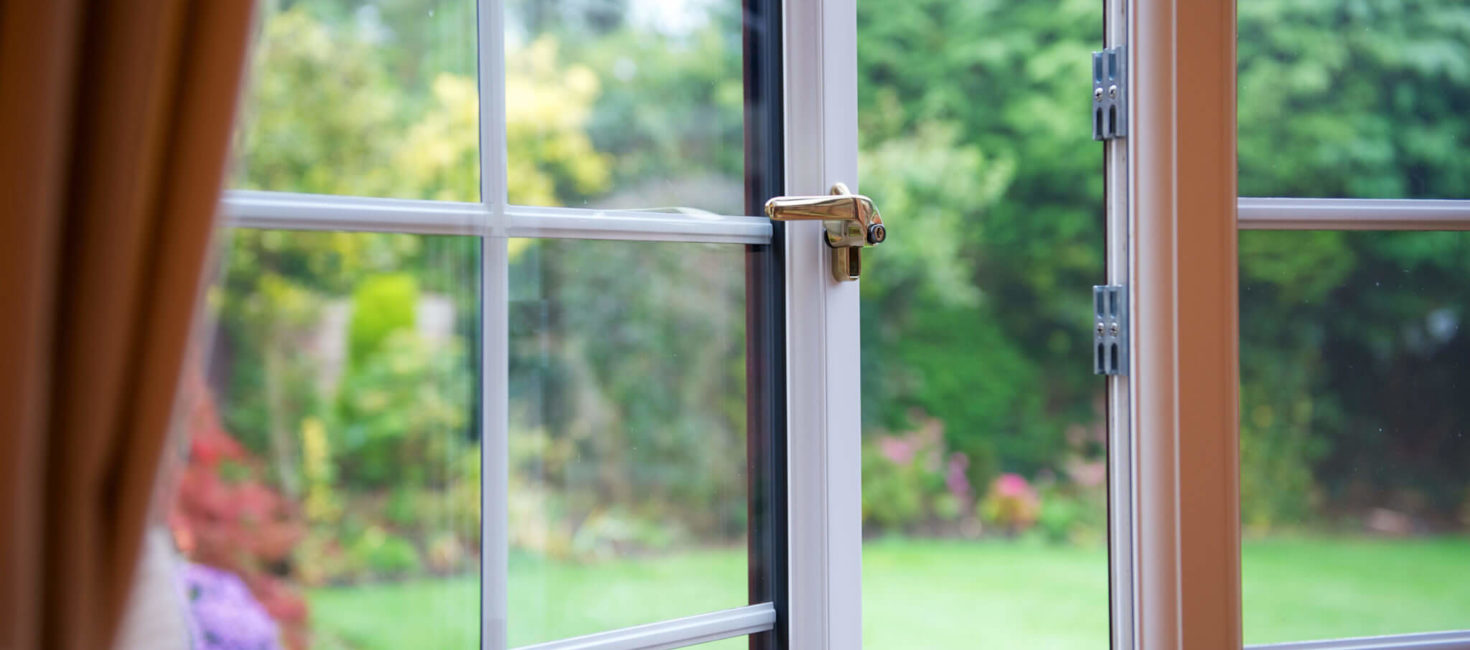
Step 2: Locate the Adjustment Points
With the window opened you will start to see the mechanical workings of your uPVC window. On the side of the window without the hinges look for the adjustment points that have hexagon opening on the surface.
Take note of these adjustment points and look for a common marker on the surface that will help you see what direction the lock is turned. In many instances, this marker is a thin line etched into the surface.
These shootouts are the part of the window that secures the closed window into the frame and locks it in place.
Tip: You can easily find these adjustment points by turning the handle while you have the window open. If you check the side of the window, you will notice that as you turn the handle these small cylindrical pieces will move up and down.
Step 3: Adjust the Compression
Depending on what you are trying to achieve, you will need to adjust the compression setting of your window. You will need to adjust each and every one of the shootouts to ensure even pressure on the window and locking mechanisms.
Choose the right size Allen key that fits tightly into the compression chamber.
Winter Adjustments
For winter adjustments, you will need to turn all of the adjustment mechanisms clockwise. Ensure that all the mechanisms match and line up perfectly. This will tighten the locking mechanism and prevent draughts flowing through your windows in the winter months.
Do not over-turn these mechanisms as it can put too much pressure on the locking system and window.
Summer Adjustments
For summer adjustments, you will need to turn the adjustment mechanisms counter clockwise. Ensure that all the mechanisms match and line up perfectly. This will loosen the lock and allow air to flow freely through your uPVC frames cooling down your home throughout the summer months.
Do not over-turn these mechanisms as it can put too much pressure on the locking system and window.
Step 4: Test the Window Operation
Once you have made the necessary adjustments, test the window and make sure that it can shut without too much force. Go back and make any necessary adjustments and ensure that your window isn’t allowing draughts into your home.
If you have made the right adjustments and the window is still draughty, it may be time to add new seals to the window or think about getting a window quote for a full replacement.
Troubleshooting Common Window Adjustment Problems
Even after adjusting your uPVC windows, you may encounter bigger issues that require more attention. Some of these issues can be resolved by DIY enthusiasts and some will require professional help to maintain the integrity of your windows.
Here are some common issues that you may encounter and what you can check for if you notice something wrong.
Drafts are Still Present
If there is still a draft after your uPVC window adjustments, you should check the seals for signs of wear or damage. These seals can easily be replaced and help your window create a tighter seal.
You can also check for damage to the frame from warping or cracking. If this happens, you will need to speak to a professional and look at a full window replacement in your home.
Handle Feels Loose or Stiff
If the handle feels too stiff, you may have over-tightened the adjustment pins. You should go back and re-adjust the pins to slacken off the tension on the handle. You can also lubricate the handle to reduce the friction while in operation.
Condensation
If you are noticing condensation on the window, it could be a sign that your windows have blown. This will require a full replacement to maximise the energy efficiency of the window.
Not all condensation is bad, take a look at our blog to find out more about condensation on your windows.
Benefits of Regular Window Adjustments
Regularly adjusting uPVC windows offers numerous long-term advantages, from improved energy efficiency to enhanced home security.
Properly aligned windows eliminate gaps and drafts, creating a tighter seal that prevents heat loss and reduces energy consumption, which in turn lowers heating and cooling bills. This may not only save money but also ensure a more comfortable home environment by removing cold spots, drafts, and condensation buildup.
Routine adjustments also extend the lifespan of your windows by preventing unnecessary strain on hinges, locks, and seals, reducing the need for costly repairs or replacements in the future.
By prioritising regular adjustments, you can enjoy a more comfortable, secure, and energy-efficient home while protecting your investment in the long run.
See how to adjust a uPVC door here.